Packing your Bottlehead amplifier or preamplifier for shipping
Read moreabout Packing your Bottlehead amplifier or preamplifier for shipping
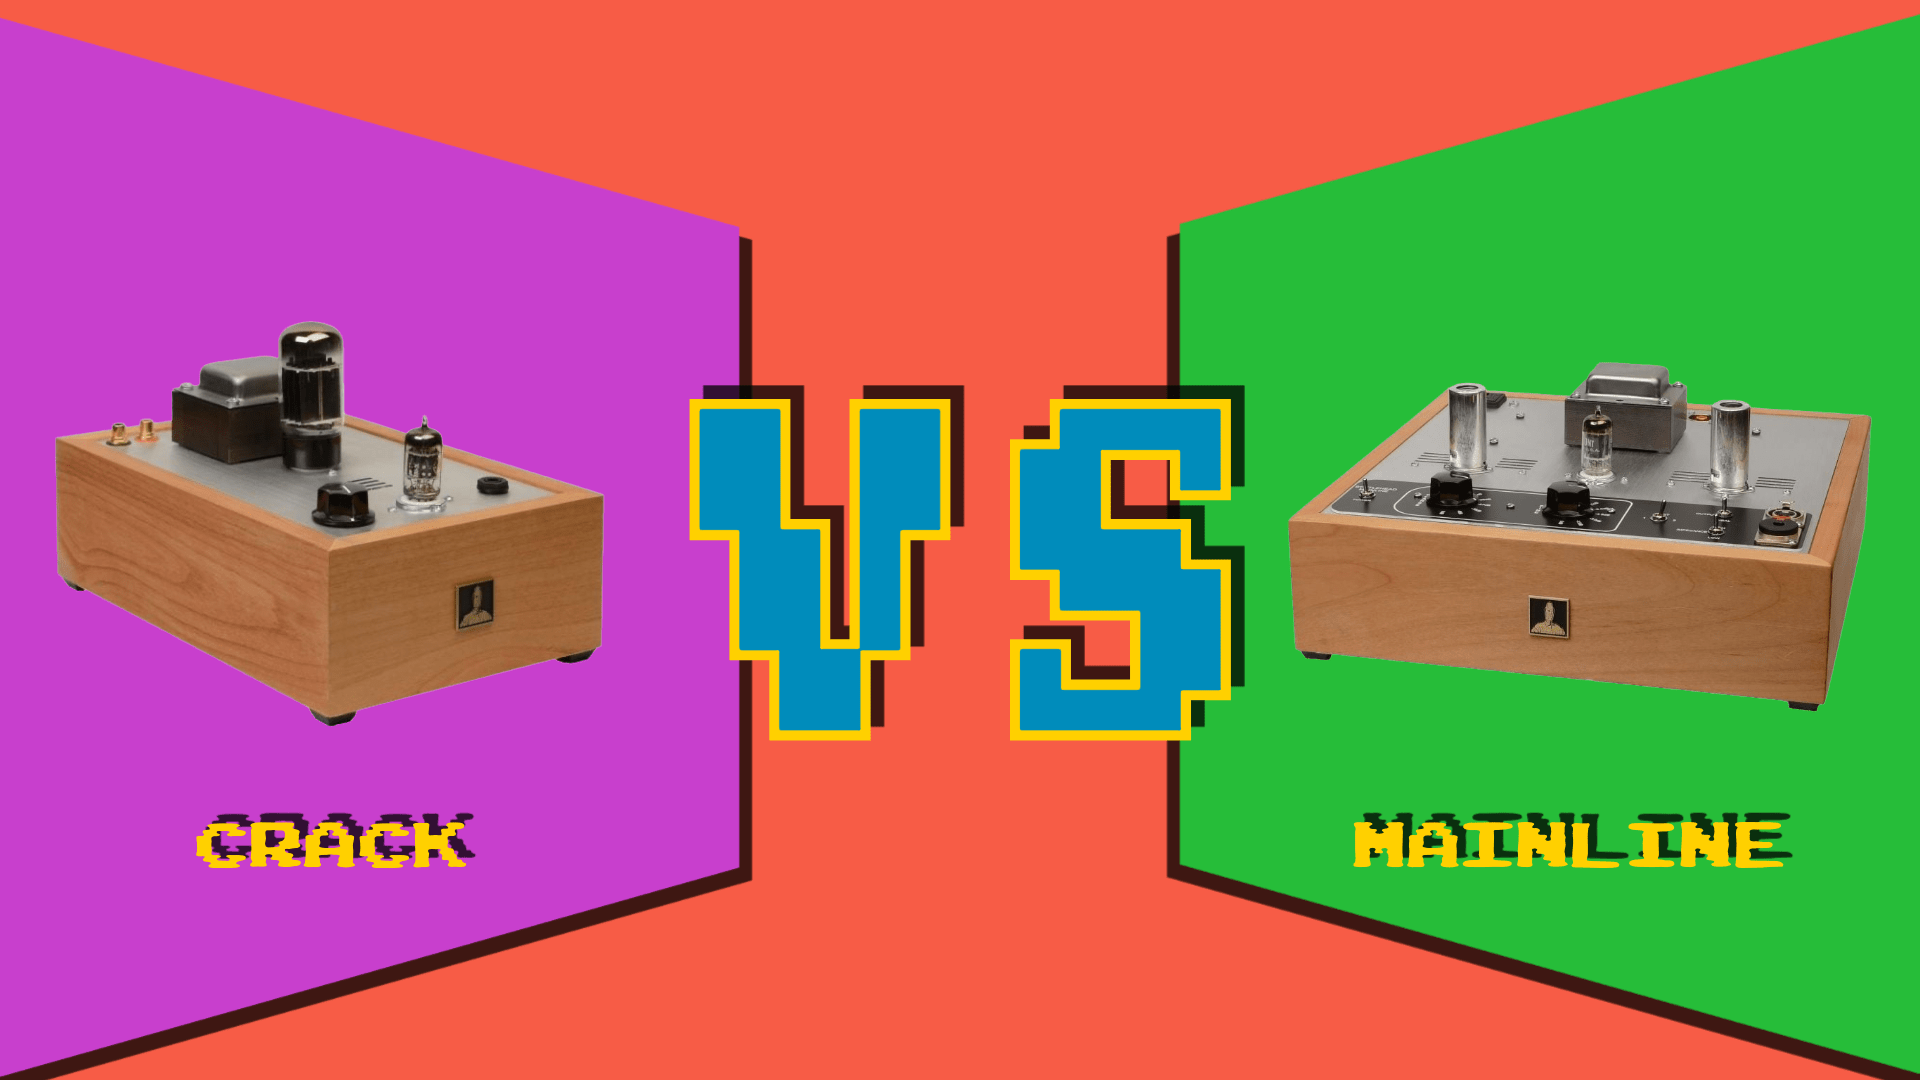
Which Bottlehead headphone amplifier is right for me?
We've created an easy-to-use chart to show how our headphone amplifiers compare to one another. Check it out to help decide which is right for you.
Read moreabout Which Bottlehead headphone amplifier is right for me?
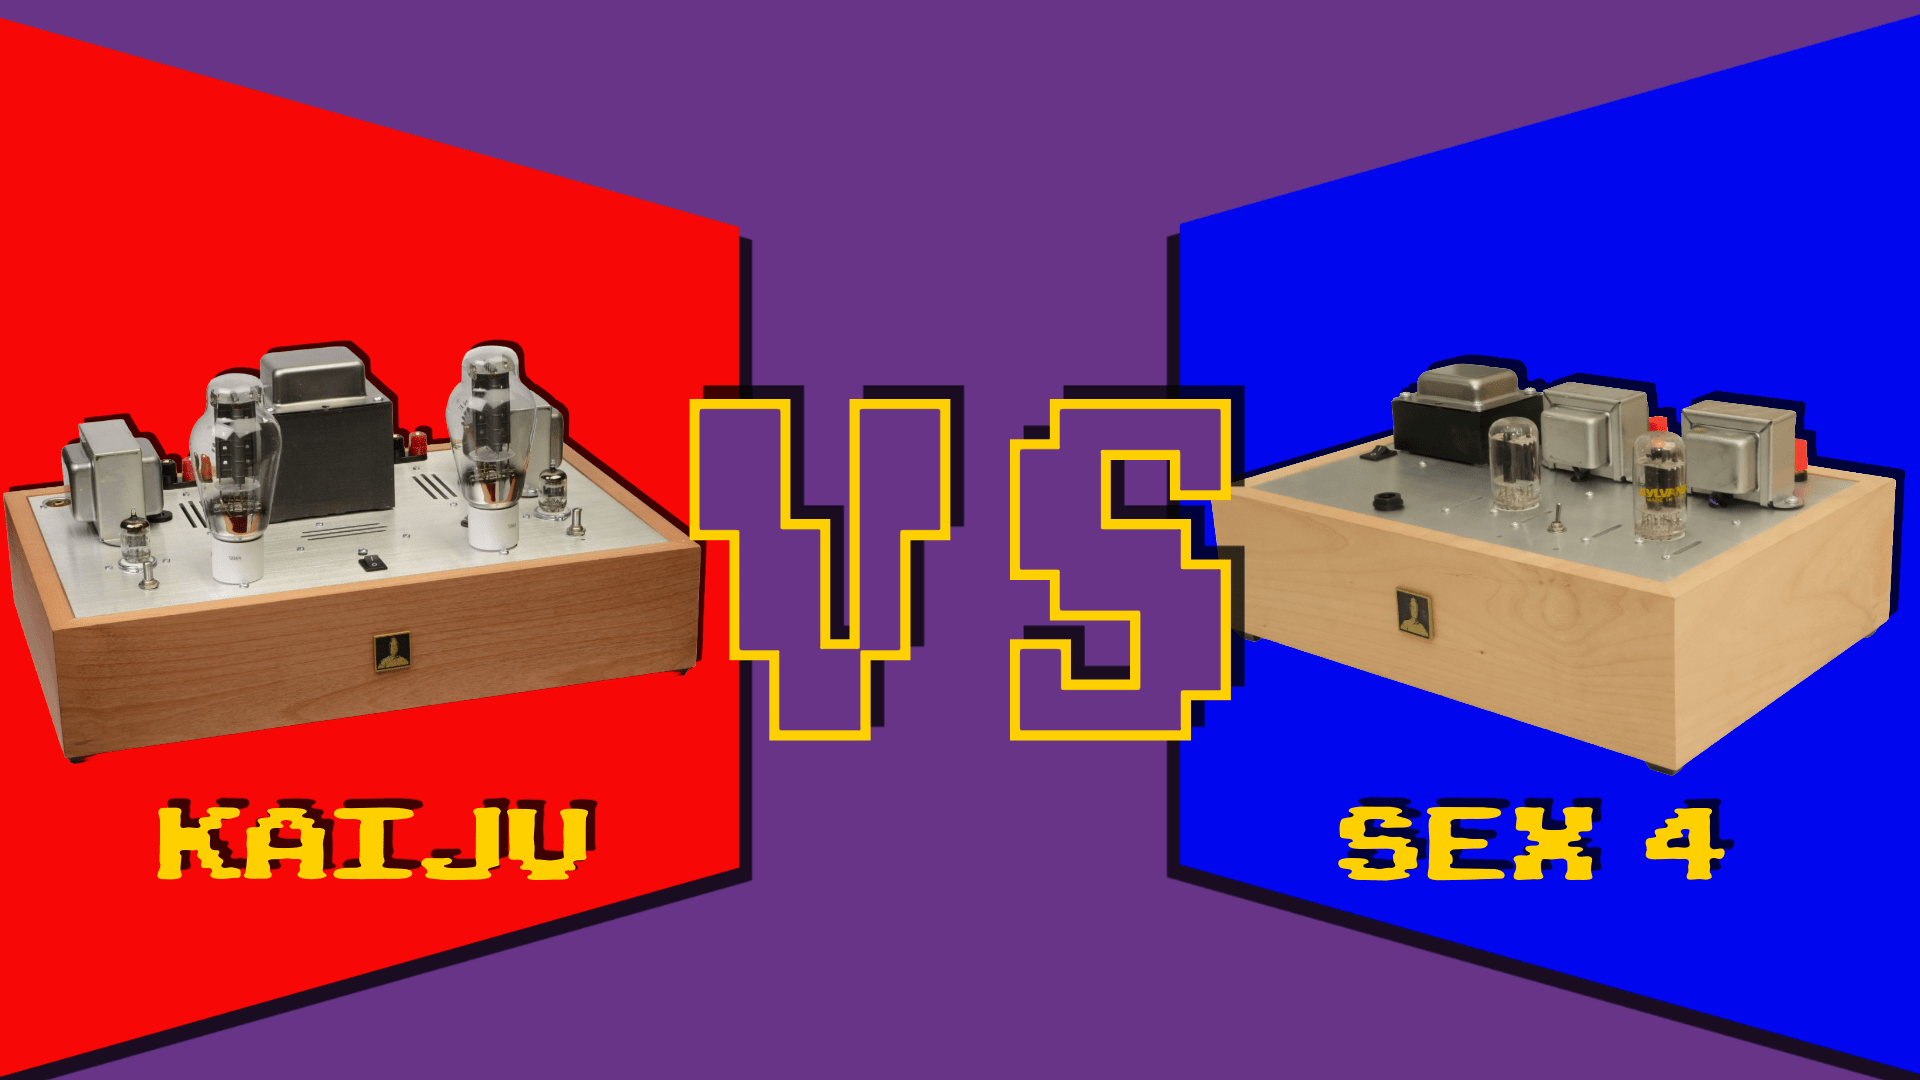
Which Bottlehead speaker amplifier is right for me?
We've created an easy-to-use chart to show how our speaker amplifiers compare to one another. Check it out to help decide which is right for you.
Read moreabout Which Bottlehead speaker amplifier is right for me?
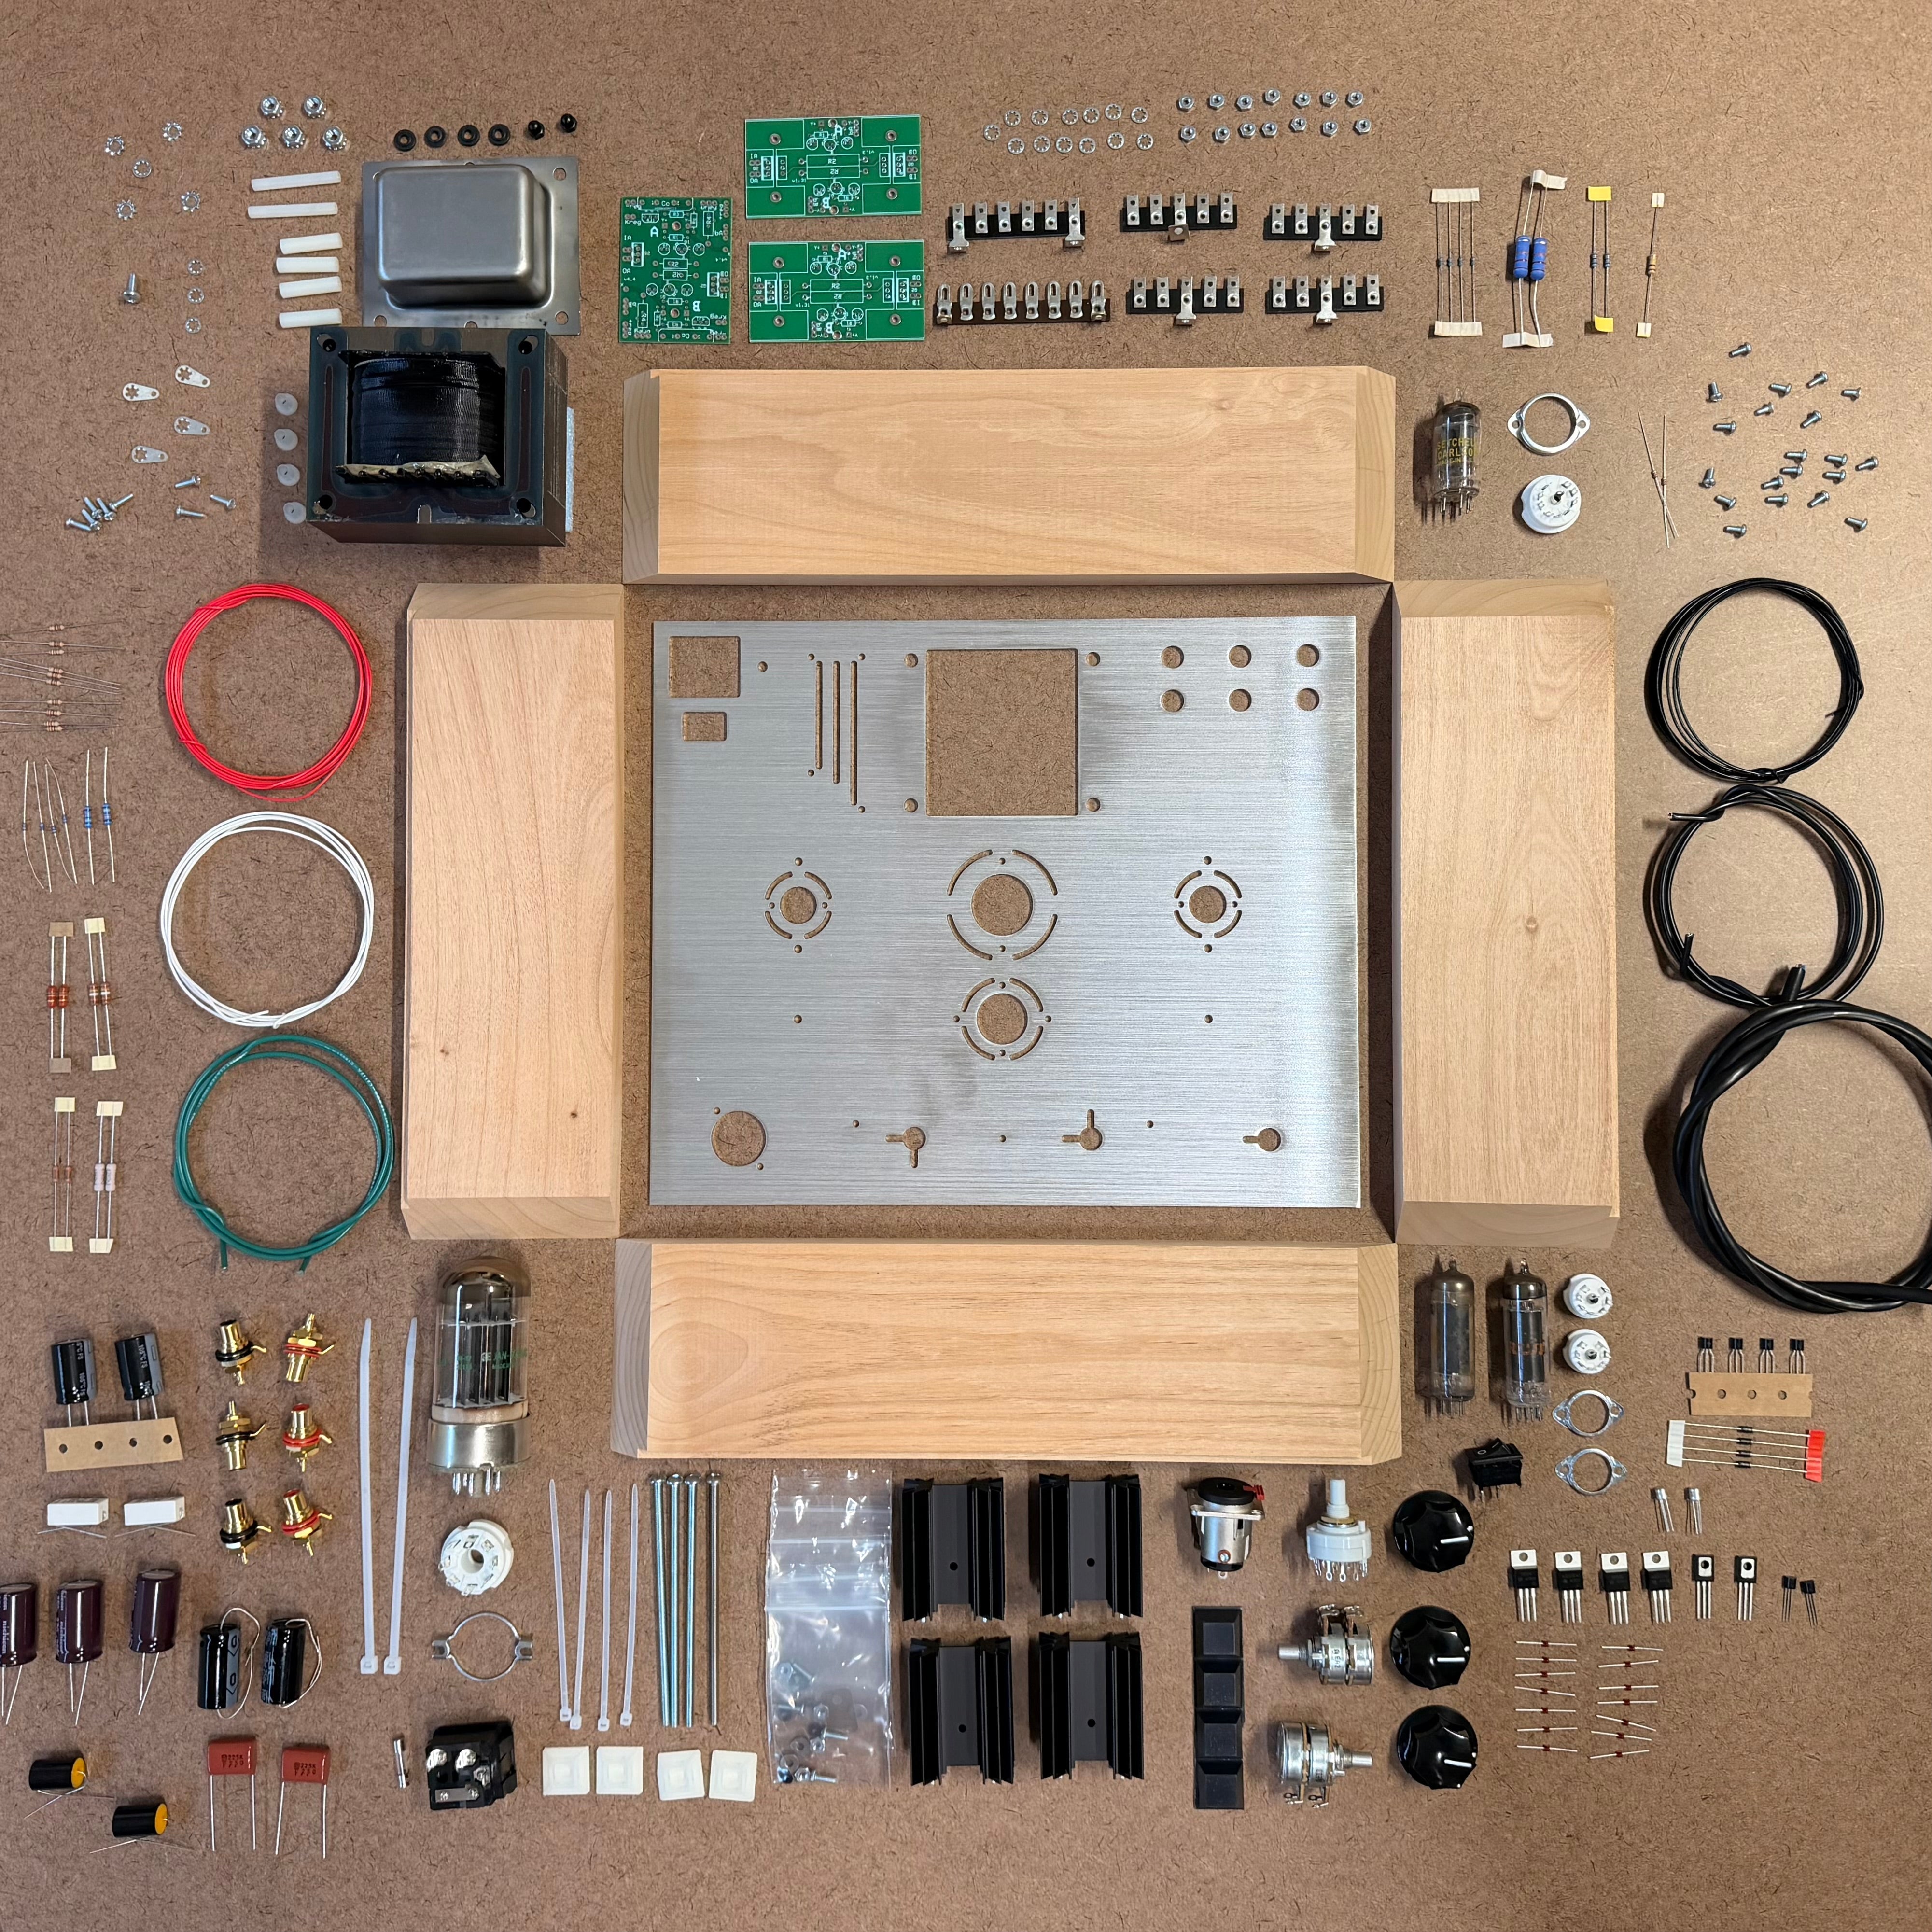
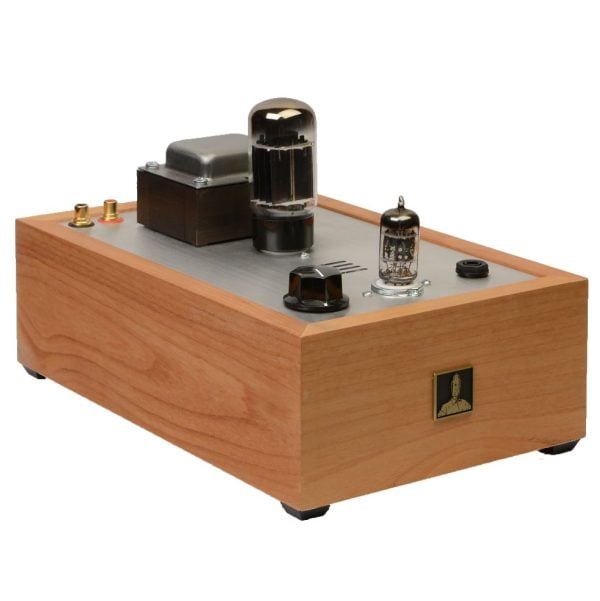
What comes in a Bottlehead kit?
Ever wonder what comes in a Bottlehead kit? We'll show you.
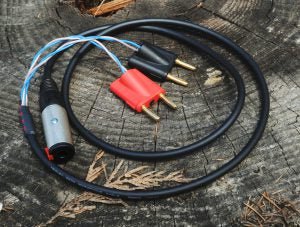
Power Amplifier to Headphone Adapter
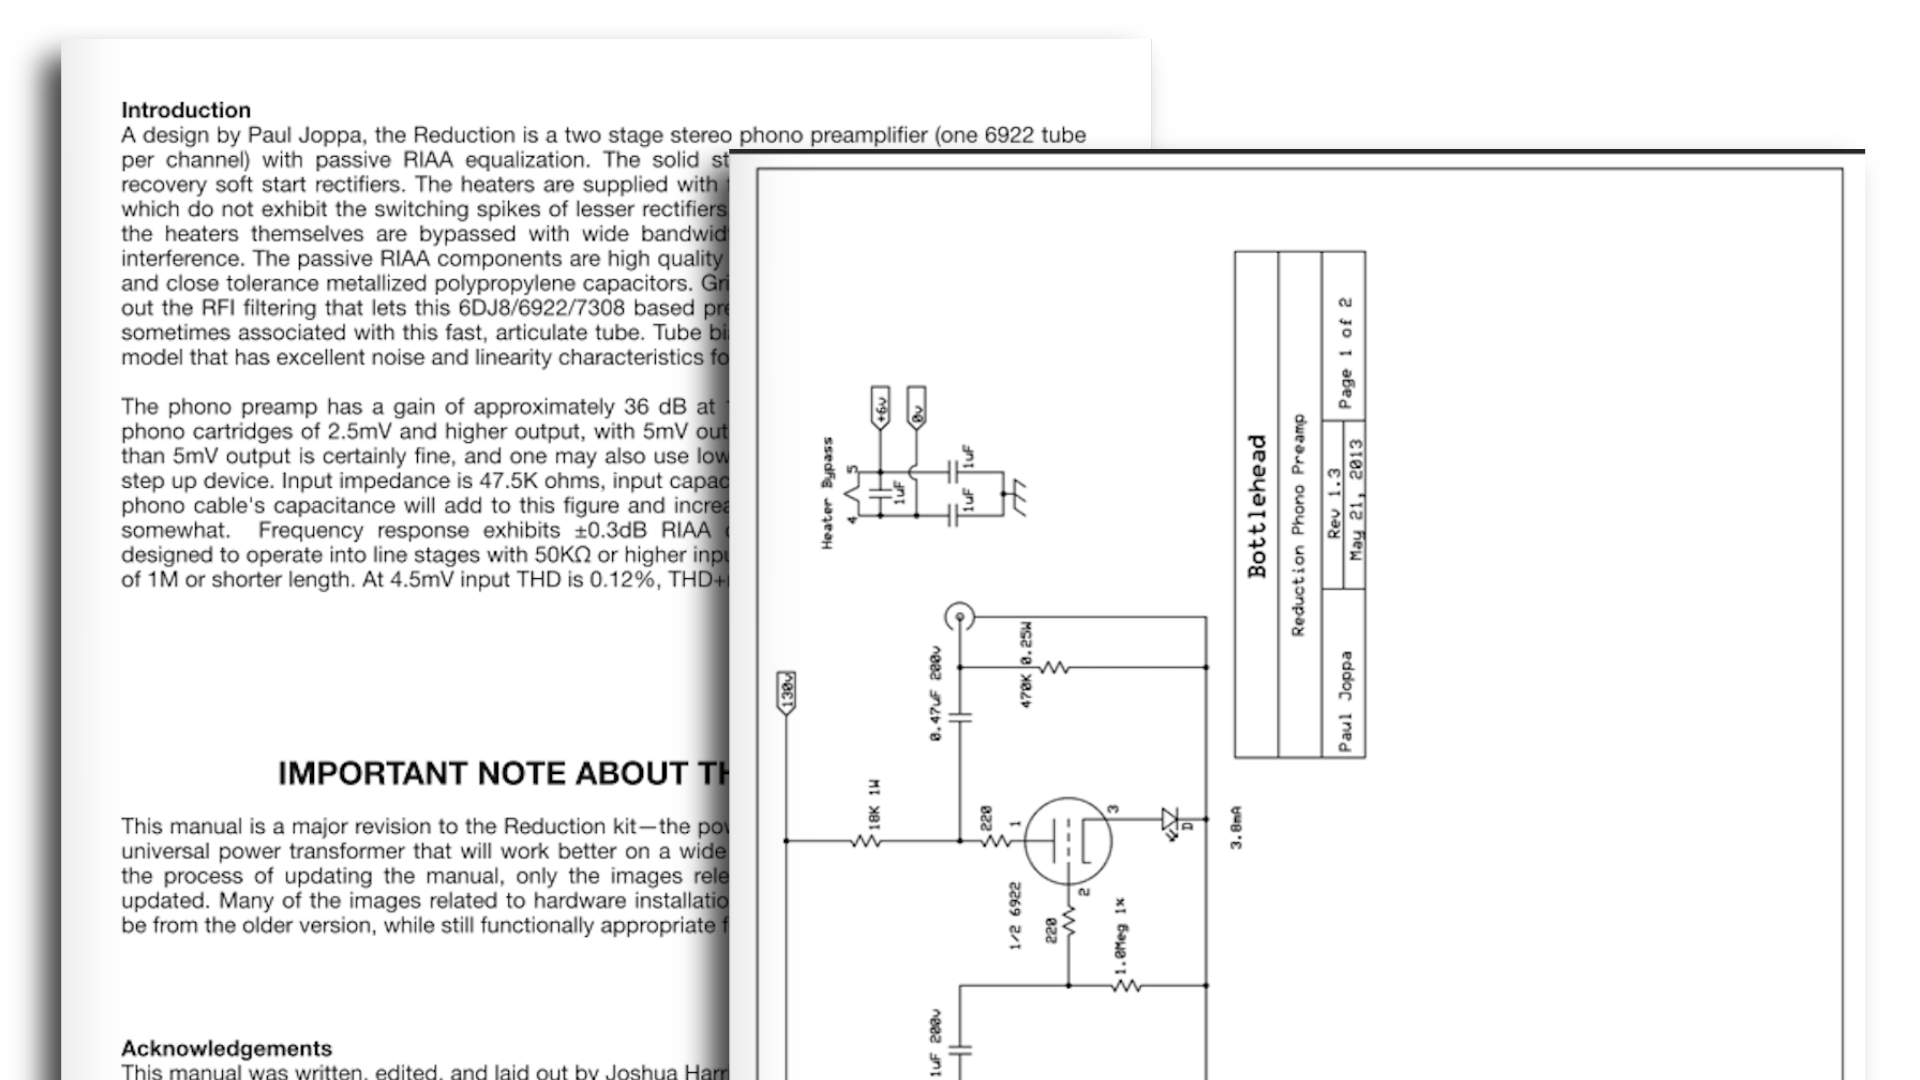
What does a Bottlehead manual look like?
Tube rolling in the Bottlehead Crack
Which tubes can a Bottlehead Crack use to change its sound signature? Read on to find out.

What do I need to build my own Bottlehead kit?
Wondering what it takes to get started? We put together a handy list of equipment and tools that you'll need to successfully build a Bottlehead kit.
Read moreabout What do I need to build my own Bottlehead kit?
We're excited to announce that on June 13. 2025, Dan and Eileen sold Bottlehead's assets and branding to Middle-Aged Kids Engineering (MAKE), a family of audio enthusiasts and Bottlehead supporters. Read on to learn more.